Title: Mastering Stair Layout: Unveiling the Power of a
Framing Square
Understanding the Framing Square (100 words):
Before delving into stair layout, it's important to grasp the key elements of a framing square. A framing square consists of two arms, namely the tongue and the body, meeting at a 90-degree angle. The body typically has measurements for common rafter cuts, while the tongue is marked for hip and valley rafter cuts. It also features stair gauges, which are crucial for stair layout.
Step 1: Establishing the Rise and Run:
To begin, determine the desired rise and run of the stairs. The rise refers to the vertical distance between two consecutive steps, while the run represents the horizontal distance. Using the framing square, align the tongue's corner with the edge of the board, and locate the desired rise and run measurements on the body. Mark these measurements accordingly on the board.
Step 2: Marking the Stair Layout:
Next, position the framing square on the edge of the board, aligning the tongue and body to form a right angle. Slide the square up or down the board until the rise and run measurements intersect with the edges. This ensures accurate and consistent step layout. Mark the notch for each step along the edge of the board, using the framing square as a guide. Repeat this process for the desired number of steps.
Step 3: Creating the Stringers:
Once the stair layout is marked, it's time to transfer the measurements onto the stringers, which are the structural supports for the stairs. Place the framing square on the edge of the stringer board, aligning the square's edge with the edge of the board. Position the square in such a way that the rise and run measurements align with the stair layout marks. Trace along the square's edge to mark the stringer cuts accurately.
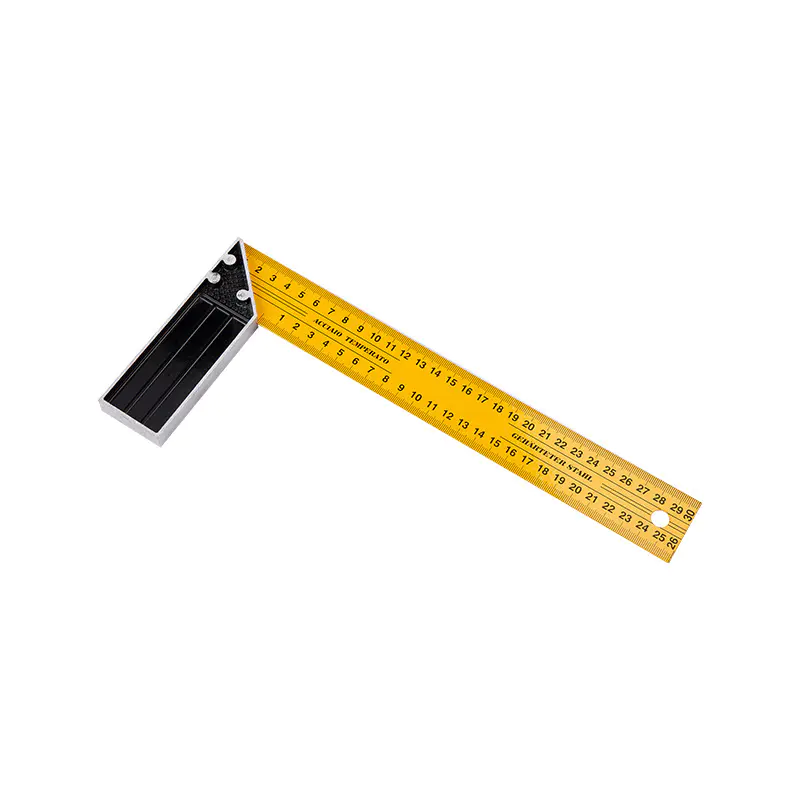
Aluminium handle try square
1. Painting blade with different color
2. Light weight aluminium handle
3. Silk screen printing inch or metric graduations


